Previously published on fastradius.com on August 17, 2022
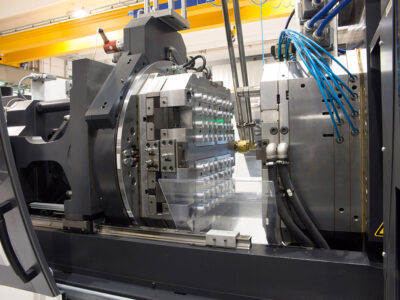
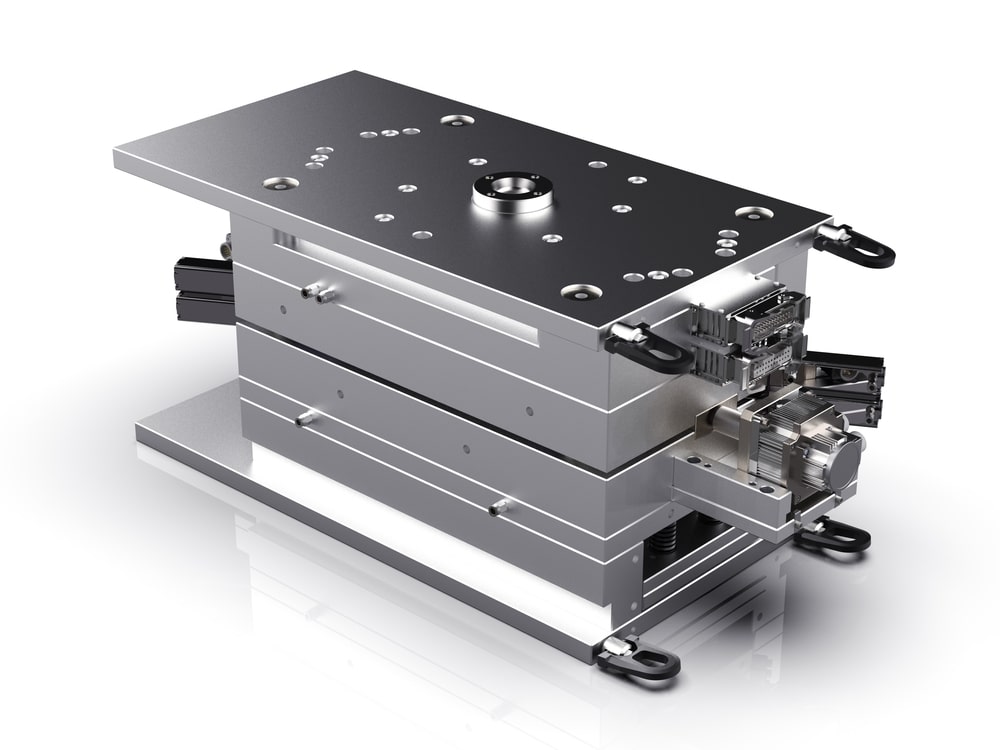
Injection mold tooling is one of the most significant cost factors during a product’s production run. Not only do you need to take into account the cost of sourcing and machining your tool material, but you also need to remember that your part’s size and complexity can affect your total tooling costs, as well. So, it’s not surprising that tooling costs alone can impact your project budget by an amount ranging from a few thousand dollars up to half a million dollars, depending on the size of the run and the factors listed above.
Companies often fail to accurately estimate and budget for injection mold tooling costs, leading to confusion, setbacks, and project scope adjustments on the fly. To help you better plan and stick to a project budget, it’s important to understand the factors that impact tooling costs and how you can improve your estimates and reduce these costs in order to make injection molded parts more efficiently and effectively.
The Impact of Materials on Tooling Costs
The availability of raw materials can impact tooling costs, as raw materials that are more difficult to find generally cost more.
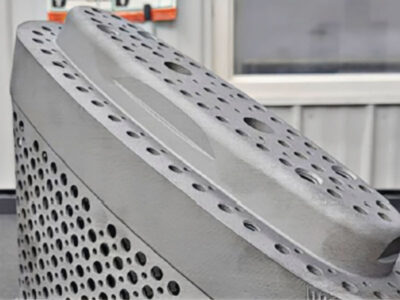
The type of metal you have can also affect costs because soft metals like aluminum are generally less expensive than their harder counterparts. However, the tradeoff is that harder tooling metals like steel will be more durable, which could lower your cost-per-part if you have a large production run.
It’s also worth noting that some materials are more difficult to machine than others. Tooling designers need to spend longer machining harder metals, which drives up costs.
The Impact of Size and Complexity on Tooling Costs
Beyond considering the type of metal for your injection mold tool, you also need to consider how the size and complexity of your project impact your tooling costs.
The larger your part or product is, the larger your tool needs to be, which means more material and a higher fabrication cost. While it’s possible to separate parts into smaller pieces, each with its own mold, and assemble them later, you’ll end up with multiple tools, potentially negating any money you would have saved.
The geometry of your part can also impact tooling costs, as complex designs require more complicated and expensive tools. If your part design has an undercut or a threaded feature, you may need to use an action, an insert, or a collapsible core to ensure your final part comes out as intended. However, these additional features add complexity to the tool machining process, increasing labor time and tooling costs.
The Impact of Part Quantity on Tooling Costs
Part quantity will affect your material choice, the tooling cost for your project, and your final cost-per-part. After all, if you need to create hundreds of thousands of parts, you need to invest in a more durable (and expensive) tool. On the other hand, if you only need a few thousand parts, it makes more financial sense to use a cheaper soft aluminum tool. Similarly, if you’re doing a very small run of parts, it may make more sense to utilize 3D printing to produce your part, which does not require any tooling whatsoever.
However, if you have a large part run planned, don’t worry. While you’ll need to spend more to cover your initial tooling cost, you’ll end up with a lower cost-per-part, as that cost will be spread across tens of thousands — or even millions — of parts over time.
How to Reduce Tooling Costs
As you can see, many factors can drive up your tooling costs. The good news is that you can take action to reduce your costs without sacrificing tooling or part quality. You’ll want to:
Consult with an experienced tooling design engineer during the design phase. Many skip this step because it can raise initial costs, but consulting with an expert early in the design phase will save you time and money in the long run. Tooling design engineers can identify and correct manufacturability issues with your design, which will help you avoid ending up with a tool and parts that don’t match your expectations or needing to manufacture your tooling twice to achieve your intended results. In some cases, they can also help simplify your design to avoid costly features like inserts or collapsible cores without impacting your part’s functionality.
Talk about quantity upfront. While your tool won’t magically stop working on a certain date, it will wear out over time, and variations may eventually exceed your specified tolerances. Since creating new tooling is expensive and time-consuming, the last thing you want to do is underestimate and create a tool that will wear out before production is complete. It’s much better to spend a little more upfront than pause production to create a new tool mid-run. By talking about how many parts you intend to produce with your tooling design engineer at the start of the process, you can ensure that you’ll be using a suitable material from the start.
For example, if you know you need a mold that will withstand at least 500,000 shots, using a harder — albeit more expensive — steel for your tooling is the right choice in order to avoid the hassle and cost of making several tools from softer, cheaper materials, like aluminum. On the other hand, if you plan on executing a short run or changing your design in the near future, we recommend using a more affordable material to ensure you aren’t wasting money on an unnecessarily strong tool.
Plan for size adjustments. If you aren’t 100% sure how big your final part will be, it’s better to buy a bigger block of material than you think you’ll need. Otherwise, you’ll have a material block that’s too small, and you’ll need to purchase a new one. Also, let your manufacturer know about potential size adjustments, as major adjustments may render a tool useless.
How to Better Estimate and Budget for Tooling Costs
To avoid unexpected costs or overspending due to an inefficient design or unanticipated design change, consider working with an experienced manufacturing partner like SyBridge. Our team of engineers can help you understand your tooling costs and ensure your project is as cost-efficient as possible. We’ll take your needs into account and help minimize your chances of underestimating your tool life requirements. Additionally, if you plan to alter your part design in the future, we’ll help you select the right material for your design’s expected life, or plan ahead by using steel-safe tooling.
Creating Tooling With SyBridge
While tooling costs may seem steep and confusing at first, many factors contribute to the final price you see, from the material to the complexity of your design. Once you understand all the elements that go into creating a tool that’s right for your part and production volume, you can better estimate your tooling costs and make the right choices to avoid mid-run setbacks and cost overruns.
When you work with SyBridge, we’ll take the guesswork out of determining your tooling costs. Contact us today to get started or create an account and upload your part designs to use our automated DFM checks and request a quote online.

