Previously published on fastradius.com on June 1, 2020
Superior designs aren’t made overnight — they are the product of rounds of iteration, testing, and adaptation. In fact, every successful part that we encounter in our daily lives has undergone a thorough product development process to optimize the part’s design and manufacturability.
Without prototyping and validating components, there’s no guarantee that parts will fit together or function as planned. Errors require redesigns, which can be extremely costly due to scrapped product, production delays, and new tooling.
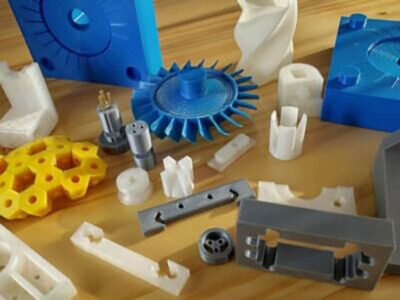
A rigorous product development process will include several rounds of prototyping. Each prototype has a purpose — some are simple proof of concept models, while others demonstrate functionality or desired material characteristics. Prototypes can be created using a variety of manufacturing methods, so it’s important for manufacturers to know the ins and outs of different processes to maximize the efficiency of the product development stage. This article will touch on some key considerations for rapid prototyping.
The Stages of Rapid Prototyping
Prototyping can be broken down into a number of phases, each of which aims to test or demonstrate an aspect of a part’s design. Choosing the prototype’s manufacturing process will depend on which factors are being evaluated. Typically, the closer the process gets to production, the more complex and expensive prototyping becomes.
1. Proof of Concept Models
Initial prototypes are simple models that provide a general idea of the part’s application. The things to prioritize at this stage are speed and appearance — the goal is to get the prototype in front of people quickly so that the general design can be approved or rejected before the next round of prototyping begins.
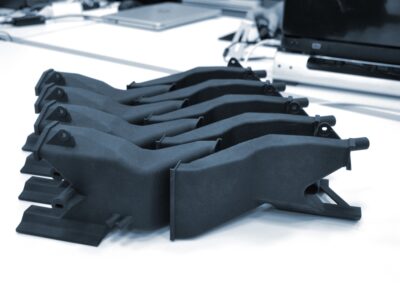
Depending on the application, rudimentary prototypes can be made from clay, cardboard, or modeling foam, but if a sophisticated model is needed, manufacturers can easily create cast urethane or 3D-printed prototypes from a quick CAD model. The fidelity of prototypes will improve as the product design advances.
2. Assembly Testing Models
Once the product architecture has been determined, it is important to prototype the various pieces of an assembly to ensure that they fit as intended. This helps identify potential physical problems with the part, from design errors to issues with dimensions, tolerances, or fit. This stage should prioritize part accuracy and precision.
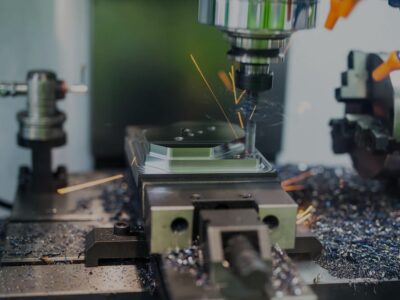
Fused deposition modeling (FDM) enables rapid size and shape testing, and processes like CNC machining consistently yield favorable part tolerances (though complex part geometries can impact the efficiency of machining prototypes). It’s important to keep in mind that any test of a prototype’s tolerances will require using an identical or comparable manufacturing process to what will be used in production.
3. Functional Models
The next phase of testing evaluates how prototypes perform when subjected to the stresses and conditions of the part’s intended application. This can involve testing the part’s resistance to chemicals, temperature fluctuations, or electricity, as well as the part’s mechanical, optical, and thermal properties in order to achieve optimal results.
Sometimes, another round of prototyping may be necessary to determine how the part’s material properties change over time. What is known as “life testing” subjects prototypes to extreme conditions (including humidity, extreme temperatures, or UV exposure) to measure fatigue strength and help ensure that products stay functional for the course of their projected lifetimes.
In both testing situations, manufacturers should prioritize material choice, using the exact or a comparable material to the final part for the most accurate results.
4. Regulatory Testing Models
At this stage, product design should be finalized, and one of the final steps of prototyping is creating models for regulatory testing. These models can be used to demonstrate that the part is compliant with standards established by agencies like the FDA, the FCC, or the International Standard Organization (ISO), and can include testing the part’s flammability, food safety, or, in the case of many medical applications, biocompatibility.
If the prototype meets all regulatory requirements, manufacturers can begin preparations to start production.
Prototyping: The Stepping Stone to Functional, Manufacturable Parts
The end goal of prototyping is two-fold: to prove that a part is functional and to demonstrate that it can be manufactured economically. Using information gathered during rounds of prototyping, designers, engineers, and product managers can ensure that a part is optimized for design, manufacturability, and function — while mitigating risks of discovering functional issues down the line. A thorough approach to prototyping ultimately maximizes part quality, helps ensure regulatory compliance, saves on costs, and cuts production times.
With an experienced manufacturing partner like SyBridge, every customer sees their part designs optimized for functionality, cost, durability, and compliance from the get-go. Our team of experienced designers, engineers, and project managers ensure that the prototyping process is effective, fast, and cost-efficient. We’re dedicated to making your biggest ideas a reality, and we back that up with robust customer support during every step of the production lifecycle, from concept to delivery. If you’d like to learn more about the manufacturing solutions we offer, contact us today.


