
Originally published on fastradius.com on February 7, 2022
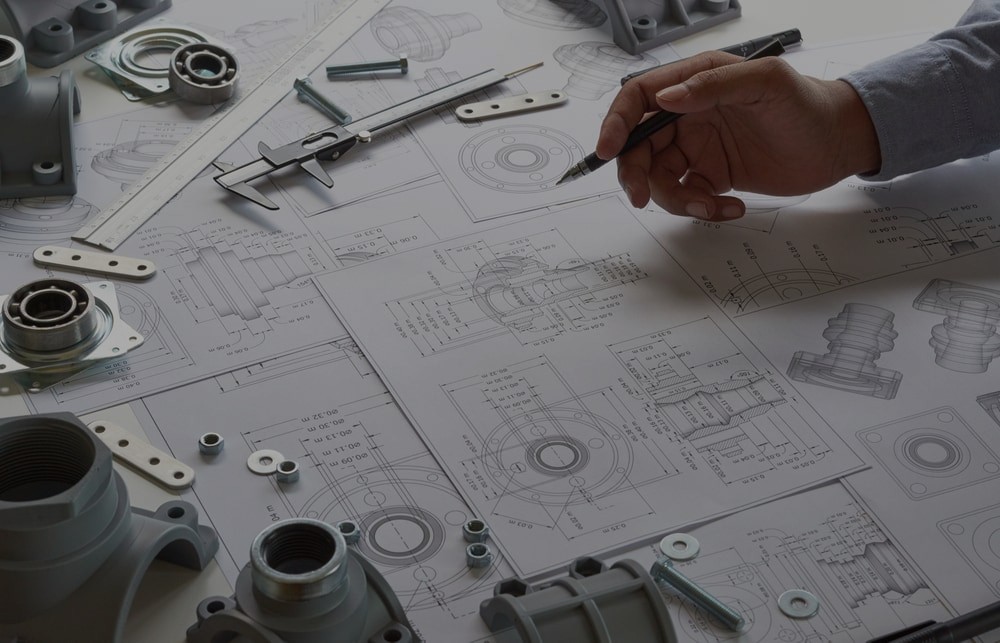
Engineering drawings are essential for clearly communicating your requirements to the manufacturer and ensuring the final product turns out exactly how you envisioned it. An engineering drawing offers the key details about your part’s critical elements, and trying to produce a part without a drawing makes it harder to align with your manufacturing partner about your expectations for the final parts.
What should you include in your drawing? This article will tell you everything you need to know to create a clear, concise, and effective engineering drawing.
An engineering drawing is a technical drawing that conveys any information required to manufacture a part that meets a customer’s specific needs. Through standardized language and symbols, engineering drawings communicate a designer’s exact requirements and expectations to manufacturers. Engineering drawings also make it easier for manufacturers to keep track of revisions, understand quality inspection requirements, and spot any issues that may increase costs.
When working with Fast Radius, customers are responsible for creating their own 2D engineering drawings. Once you’ve provided a drawing, our engineers can work with your team to clear up any ambiguities. The most important thing to do is make sure that whoever creates the engineering drawing knows the product, what it should look like, and its function.
If you have tight tolerances, post-processing needs, specific quality requirements, or a complex design, you will need an engineering drawing. While there are a few occasions when engineering drawings aren’t necessary and only a 3D model will suffice, having both a 3D model and a 2D engineering drawing is ideal. 2D drawings provide information that 3D models don’t, such as material type, tolerances, and finish.
Luckily, if you already have a 3D model, any modeling software will allow you to efficiently create a 2D drawing. While drawing an engineering model by hand can be time-consuming, you can generate a 2D drawing from a 3D model with just a few clicks. Then, all that’s left to do is add your dimensions, tolerances, and any other specific requirements that you want the manufacturer to include in the part. As an added benefit, 2D drawings can help to clearly indicate the revision status of the part and erase any ambiguity about which model is the correct version.
On every engineering drawing, there are a few must-haves, including:
Dimensions and tolerances: Include any dimensions and tolerances that are necessary for producing the part in your drawing. For CNC parts, it is customary to include all of the part’s dimensions in the drawing. However, for injection molded or additively manufactured parts, avoid over-dimensioning, as your manufacturer may have trouble identifying which dimensions are most important. Be careful not to include tolerances that are tighter than necessary, as those may drive up costs without improving functionality.
Quality and inspection requirements: You should also include your quality and inspection requirements so the manufacturer knows exactly what to look for and how to inspect your parts to ensure they meet your expectations.
Title blocks: These blocks contain additional information and are located in the bottom right-hand corner of a drawing. The title block includes the designer’s name, part number and description, material, finish, part weight, general tolerances, scale, and units. If your part is an assembly, a bill of materials should also be included to list the items and quantities needed for the project. The revision block enables manufacturers to ensure they’re working off the most recent version.
Views: Extra information shown in detail, section, or auxiliary views can be useful, but they won’t all be necessary for specific designs. Only include views that are essential to understanding your part and leave out any that don’t add new information. Isometric views are not required, but they are always beneficial to help the manufacturer better visualize the part.
Symbols and lines: Creating readable drawings with engineering drawing software is easy as long as you’re familiar with commonly used engineering drawing symbols and lines. The most common types of lines in engineering drawings include:
If you’re creating your part via injection molding or additive manufacturing, you should also pay special attention to any critical features — your manufacturer will focus on these elements when preparing your part and deciding the manufacturing setup. Since injection molding and additive parts often have complex geometries, focusing on your critical features will help the manufacturer create your part as cost-effectively and quickly as possible.
When it comes to creating engineering drawings, there are a few things you’ll want to keep in mind to ensure the final product meets your expectations.
Clear engineering drawings and designs help your manufacturer create a functional, aesthetically pleasing part that meets your needs. If you’re struggling to create an engineering drawing, decide which dimensions or requirements should be included, or strike a balance between including too much information and not enough, consider working with a trusted manufacturing partner.
When you partner with SyBridge, our team will review your engineering drawing to ensure that your part can be quickly and cost-effectively produced. We’ll work with you and double-check that there’s enough information included in the drawing so there won’t be any surprises when it comes to the part itself or the cost of producing it. To get started on your next project, contact us today!
Forget typical cycle times. We're pushing the boundaries of conformal cooling. While traditional approaches deliver…
Forget typical cycle times. We're pushing the boundaries of conformal cooling. While traditional approaches deliver…
From left to right: Brayden Janak (apprentice); Logan Vifaquain (CNC machining, Programming and CMM); Ron…
SyBridge Technologies is proud to announce we have been awarded the 2023 General Motors Supplier…
Today, designers and engineers are accustomed to working with digital tools in their day-to-day jobs.…
Optimizing Your Injection Molding Process for Cost-Effective Manufacturing Excellence In today’s competitive landscape, manufacturers are…