
Originally published on fastradius.com on March 7, 2020
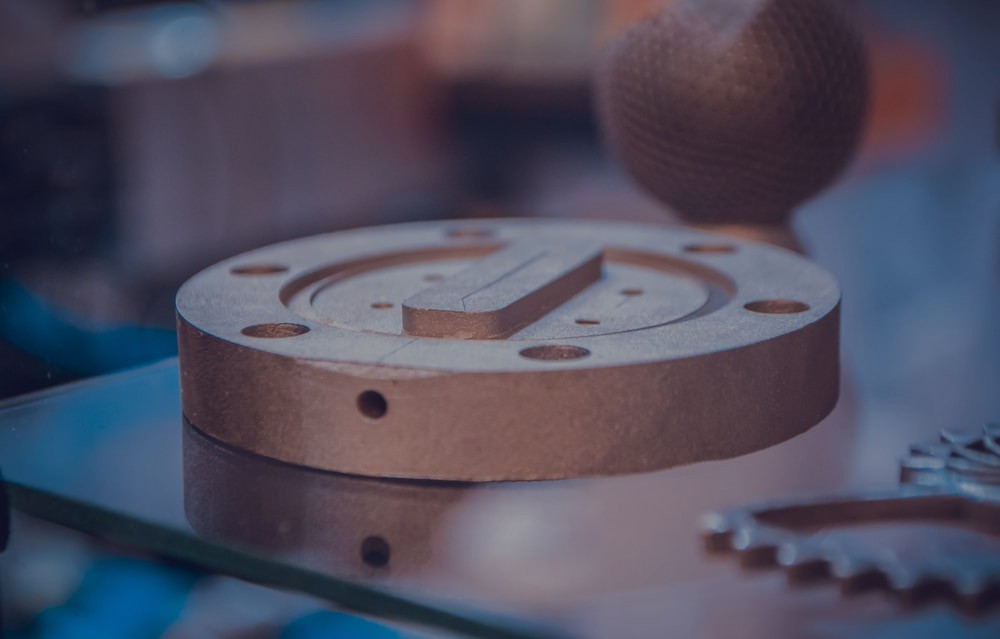
What is binder jetting? In 1993, the Massachusetts Institute of Technology developed this Inkjet-in-powder-bed form of 3D printing to print complex parts out of a variety of materials. Today, there are binder jetting applications in several industries, and you can create everything from metal parts to large sand-casting cores to full-color prototypes. Binder jetting is fast and cost-effective, but many product teams are unfamiliar with this manufacturing process. Here’s what you need to know.
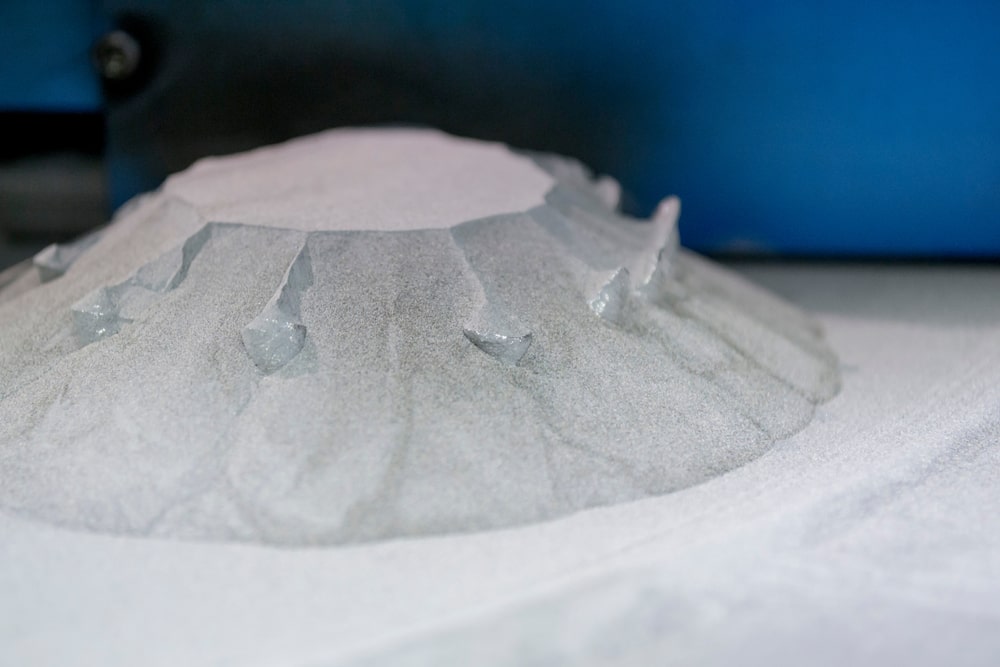
While many other 3D printing methods use a single nozzle or laser to create parts layer by layer, binder jetting sprays liquid binder onto a bed of powder. In fact, the binder jetting 3D printing process is similar to how a 2D printer adds ink to paper. It’s mainly used to print metal, sands, and ceramics and is known for its speed, affordability, and ability to print large parts.
To begin the binder jetting process, you’ll need to create a digital model of your part, slice it, and send it to your manufacturing partner. They’ll then input it into the binder jetting printer. Then, a recoating blade or roller will spread a thin layer of powder over the build platform, and a carriage with Inkjet nozzles will pass over the powder bed, depositing drops of binding agent. If you’re creating a full-color part, the machine will also deposit colored ink during this step.
The build platform will then lower in accordance with your model’s layer thickness. Most full-color models have a layer height of 100 microns, most metal parts have a layer height of 50 microns, and most sand casting mold materials have a layer height between 200 and 400 microns. Next, the blade or roller will recoat the surface, and the process will repeat until your part is complete. Your engineer can then cure your part to increase its strength, gently free it from the loose powder on your powder bed, and clean it using a brush or pressurized air.


Parts that have just been created using binder jetting are in a green state and typically have high porosity and poor mechanical properties. As such, your engineer might add on a few post-processing steps after printing, which will vary depending on your part’s material. For example, a metal part might need to be sintered with a low-melting-temperature metal like bronze. If you have a full-color part, your engineer might infiltrate it with acrylic to improve its vibrancy. If you have a sand casting core or mold, no additional processing is required.
Binder jetting materials fall into three categories — powder, sand, and metal.
Since binder jetting 3D printing machines often have secondary printheads that add color as the primary printhead adds the binding agent, it’s easy to create full-color models using sandstone or polymethyl methacrylate (PMMA) powders. However, the resulting parts will be very brittle — even after processing — and are best used as non-functional models like topographical maps or figurines.
Sand and silica sand are relatively affordable, so they’re great for creating one-time-use molds and cores. Not only will binder jetting sand enable you to create complex geometries that would be difficult or impossible to produce with traditional methods, but you’ll also be able to achieve a dimensional accuracy of ± 0.3 mm. Also, note that:
Binder jetting is also a popular choice for 3D printing metal. It’s up to 10 times more economical than selective laser sintering (SLS) or selective laser melting (SLM) and offers relatively large build sizes of up to 800 x 500 x 400 mm. Binder jetting also allows for complex geometries, doesn’t require support structures, and has a dimensional accuracy of ± 0.2 mm.
Binder jetting is compatible with steel, titanium, chromite, copper, and more, but you’ll need to post-process your part to improve its strength no matter which metal you use. Post-processing options include:
When you choose binder jetting, you can:
However, there are a few disadvantages to consider when using binder jetting. Keep in mind that:
Binder jetting is a fast and affordable technology that’s great for large prints and full-color prototypes. Is binder jetting the best process for your next project? Working with an experienced manufacturing partner can help you make the right decision.
At SyBridge, our team of professionals has years of experience with the latest 3D printing technologies. We can help optimize your design for 3D printing, select a material and 3D printing method that suits your needs, and more. Contact us today to get started.
Forget typical cycle times. We're pushing the boundaries of conformal cooling. While traditional approaches deliver…
Forget typical cycle times. We're pushing the boundaries of conformal cooling. While traditional approaches deliver…
From left to right: Brayden Janak (apprentice); Logan Vifaquain (CNC machining, Programming and CMM); Ron…
SyBridge Technologies is proud to announce we have been awarded the 2023 General Motors Supplier…
Today, designers and engineers are accustomed to working with digital tools in their day-to-day jobs.…
Optimizing Your Injection Molding Process for Cost-Effective Manufacturing Excellence In today’s competitive landscape, manufacturers are…